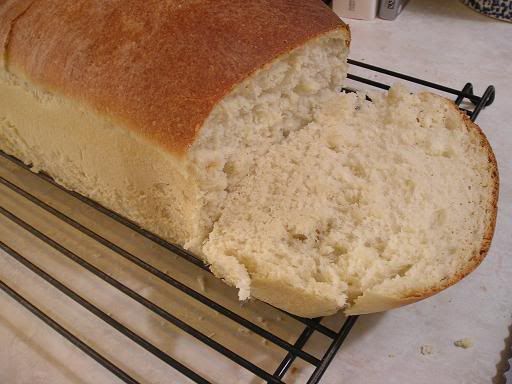
If you've been reading here for long you know that I love to bake, especially bread. There's just something special about a kitchen that smells of a warm loaf fresh from the oven that makes it a wonderful place to be.
Some of you have asked for tips on bread baking so I thought I would show you how to make a really simple loaf of white bread. I'm not an expert by any means but I've learned a few things over the years, mostly by trial and error (heavy on the error part). Even if you've never baked bread before you can do this.
This recipe makes one loaf. I like to make one loaf at a time (unless we are having company) because I think it tastes better when it was made the day we eat it, plus the kneading time is shorter when you are only making one loaf. Since I like to bake I don't mind making bread multiple times in a week. This recipe can be doubled if you want two loaves just remember to knead about twice as long.
First dissolve 1/3 cup sugar in one cup warm water. The temperature should be about 110 degrees. If you don't have a thermometer just make sure it's warm to your fingertips without being hot.
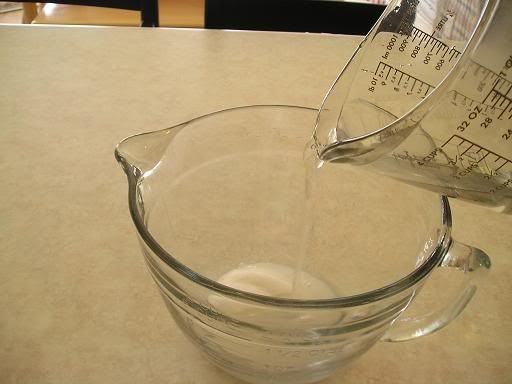
Next stir in one Tablespoon of active dry yeast (or one packet).
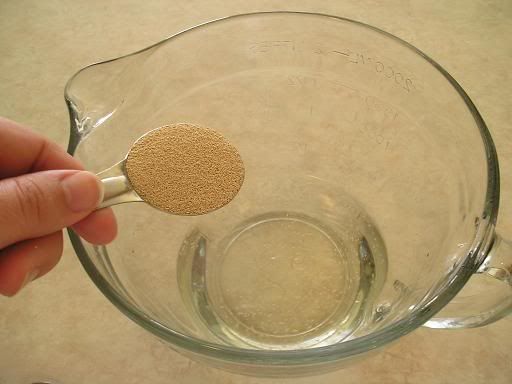
Allow the yeast to "proof". Let it sit until it looks sort of foamy and creamy.
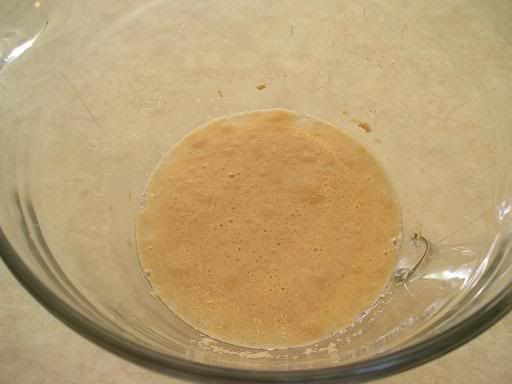
Stir in 3/4 teaspoon salt and 2 Tablespoons vegetable oil.
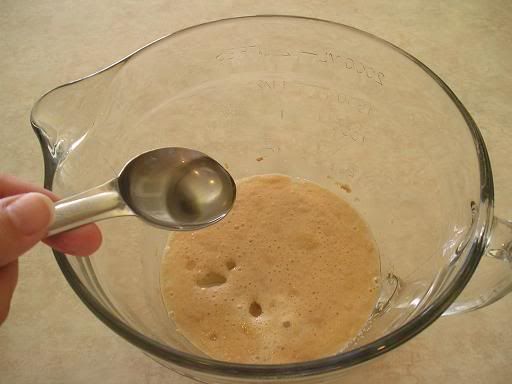
Mix in 3 cups flour one cup at a time.
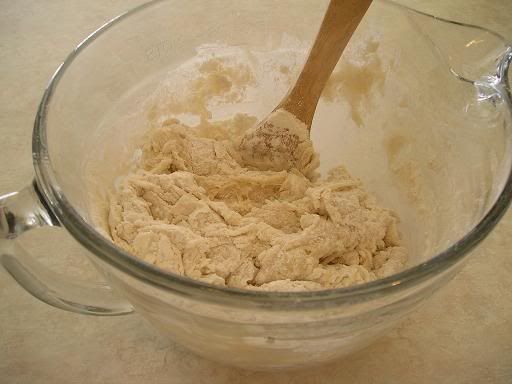
When you are following a bread recipe remember that the amount of flour called for isn't exact. It depends on the humidity where you live, your elevation, etc. Start with a smaller amount of flour and gradually work your way up. You might start with 2 1/2 cups and see how that works.
Just mixed dough will be sticky, but pick it up and feel it. Does it feel too soft or too stiff? If it's too soft, add more flour 1/4 cup at a time. If it's too stiff sprinkle with 2 tablespoons of water and mix again. If it is hard to press with your fingers it's too stiff. It shouldn't feel like clay. You don't want to pull a brick out of the oven.
Turn the dough out onto a lightly floured surface (I just use my countertop) and knead.
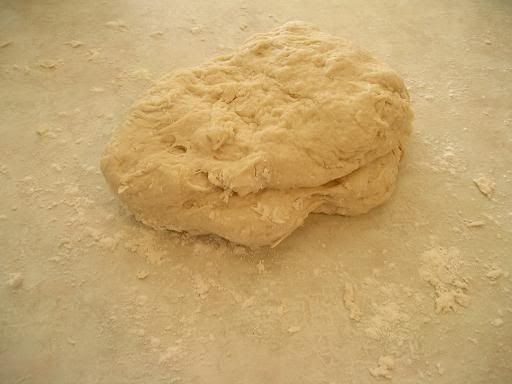
Kneading makes the dough able to rise. If you are kneading a single loaf it will probably take about 10 or 15 minutes. It's a good workout for your arms, right? I use the heels of my hands and push down on the dough with my whole body, then lift, turn and repeat. Keep it pretty much in a ball and get into a rhythm with it. Fill that dough full of love for your family. Continue kneading until the dough is smooth and elastic.
Notice the difference in texture from the way it looked when I first turned it out of the bowl.
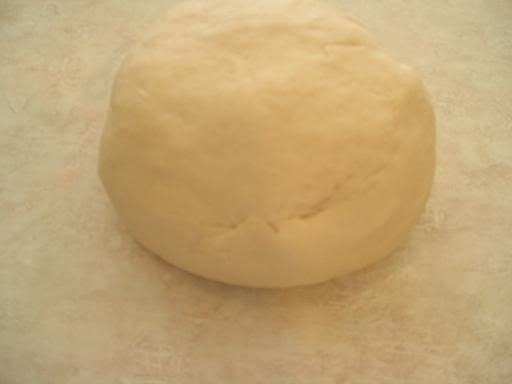
Now place the dough in a well oiled bowl and turn it to coat.

Cover with a damp cloth.
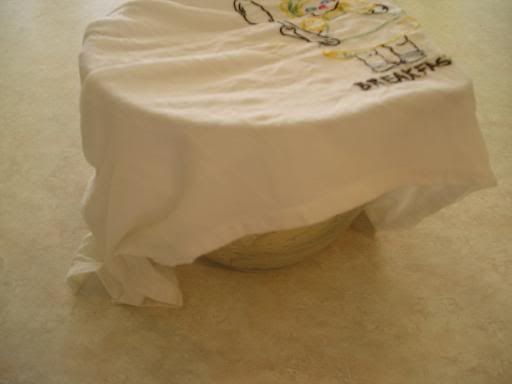
Now go fold a load of laundry, vacuum the living room and check your email while you wait for it to rise until doubled, but don't go too far. It will take about an hour.
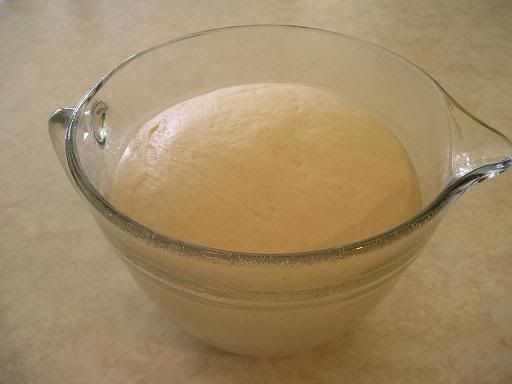
Punch the dough down and knead for a minute or two.
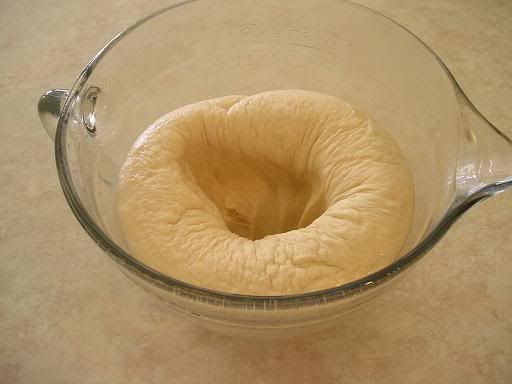
Shape the loaf and place into an oiled pan. There are many ways to shape a loaf. An easy one is to roll the dough into a rectangle and roll up like a jelly roll then press the seam to seal and press the ends down to seal. Just make sure there are no air pockets. It doesn't matter if it looks funny. it will still taste good.
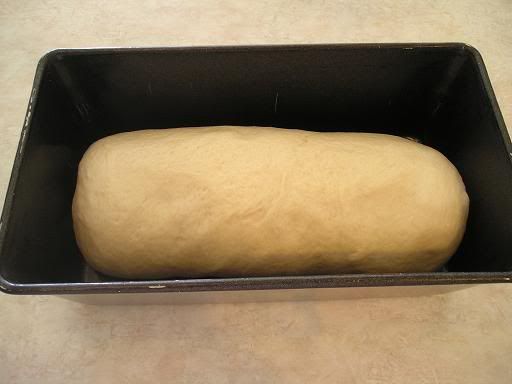
Cover and let rise again until double. This will take about half the time of the first rise.
If for some reason you need to leave while your dough is rising, you can place it in the fridge. It will slow the rise down, but it won't keep indefinitely that way so don't be gone too long.
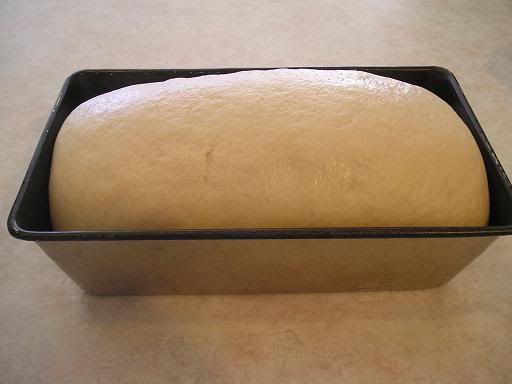
Place the risen loaf very gently in a pre-heated 350 degree oven and bake for about 30 minutes. How do you tell if it's done? Does it have a pretty golden color? Does it slide out of the pan easily? If you tap it does it sound hollow rather than thick? If so then it is ready!
If you are like us, you'll want to slice into it right away. Use a sharp thin bread knife and saw back and froth gently rather than pressing downward or you'll just make it into a flattened mess (although it will still taste good). It can be cut more easily after it cools.
By the way, my loaf in the picture at the top of this post could have stood another 5 minutes or so in the oven, but by the time I decided it needed to bake a little longer the kids were already digging in so I figured why bother. :)
Cool on a wire rack.
Amish White Bread
* 1 cup warm water (110 degrees F/45 degrees C)
* 1/3 cup white sugar
* 1 packet active dry yeast or 1 Tablespoon
* 3/4 teaspoon salt
* 2 tablespoons vegetable oil
* 3 cups bread flour
1. In a large bowl, dissolve the sugar in warm water, and then stir in yeast. Allow to proof until yeast resembles a creamy foam.
2. Mix salt and oil into the yeast. Mix in flour one cup at a time. Knead dough on a lightly floured surface until smooth. Place in a well oiled bowl, and turn dough to coat. Cover with a damp cloth. Allow to rise until doubled in bulk, about 1 hour.
3. Punch dough down. Knead for a few minutes. Shape into loaf, and place into well oiled 9x5 inch loaf pan. Allow to rise for 30 minutes, or until dough has risen 1 inch above pans.
4. Bake at 350 degrees F (175 degrees C) for 30 minutes

You make it seem so easy. Only bread I've ever gotten to rise good is in my bread machine. But to me it's just not as good.
ReplyDeleteI've used this recipe with all whole wheat and used my kitchenaid mixer with the dough hook. I turns out really good!
ReplyDeleteI blogged your whole wheat cookies today on my blog. They were great! thanks!
Thank you! I have been wondering how you make your bread step by step. Yummo~ I can't wait to try this.
ReplyDeleteYou are amazing!!!! Loving this post! I'll have to bookmark it. I definitely have the jist of bread making (well, never made a regular loaf) but there were several new things that I learned in this post. I can't wait to try all your techniques!!!
ReplyDeletePS- My fave line: Fill that dough full of love for your family.
Awesome!
This looks yummy and you make it look so easy. I am going to have to bite the bullet and make my first bread!
ReplyDeleteThank you so much for this recipe! Can't wait to try it!
ReplyDeleteI'll stick with my bread machine!
ReplyDeleteVery well done, this is also how I do mine, but mine is usually whole-wheat.
ReplyDeleteNothing is better than fresh, warm bread. Thanks a lot...and I am trying to get ready for the dreaded bathing suit!
ReplyDeleteThanks for the recipe!! Nothing like fresh baked bread!! My husband has been on a bread making craze lately. I'm not complaining!!
ReplyDeleteJen
Ooooh! Thanks for the tutorial!!! :)
ReplyDeleteHI
ReplyDeleteHave just discovered your fabulous blog! Have saved in my favourites. I shall visit regularly!
Isabelle x
The whole time I was reading this I kept waiting to see the bread machine...so glad I didn't!! I know they're easy to use, but there's just something about fresh from the oven bread!
ReplyDeleteI've got a question about this bread. First off, thank you thank you for posting your easy step by steps! This is, quite honestly, the very first loaf of bread I've made from scratch (not counting my bread machine, which is out-of-order for now). It turned out wonderful, if I do say so myself, lol, thanks to such easy-to-follow instructions. Now for the question: When I'm turn out onto a floured countertop, after I knead a little while, the dough gets stickier and sticker...I kept adding more flour (a little at a time, obviously), but I was really scared of adding too much flour. Do you continue to add flour the whole 15 minutes of kneading?
ReplyDeleteSecondly - this bread was heavy...not heavy, but dense? Maybe that's a better word. And I do not mind dense bread at all, especially when it's slathered in butter! :) But my kids tend to like "lighter" bread...is there a way to adapt this recipe to be less dense? I'm almost hoping there isn't, that way I can tell them "Too bad more for mama!" :)
Thank you again for allowing me to try my very first homemade bread. I think I might actually make it again today :P
Thank you for the recipe. I have it rising now. Enjoy your day.
ReplyDeleteCame here via tackle it turesday
It is really great to make homemade bread. I remember when my mother made bread and I paid her a visit, I had to have a slice!!!
ReplyDeleteI make bread at home when I get time and my husband loves it so it does not last too long.
Check out my recipe: